Installing a certificate in the Windows certificate database Tutorial with ID 2 from current 13
Author: - Published on:
Certificate installation Instruction for Windows 7 64-Bit
The certificate installation procedure is basically similar under all Windows operating systems. Only the appearance of the dialogs can be different under Windows XP, Vista, 7, 8 and 10!
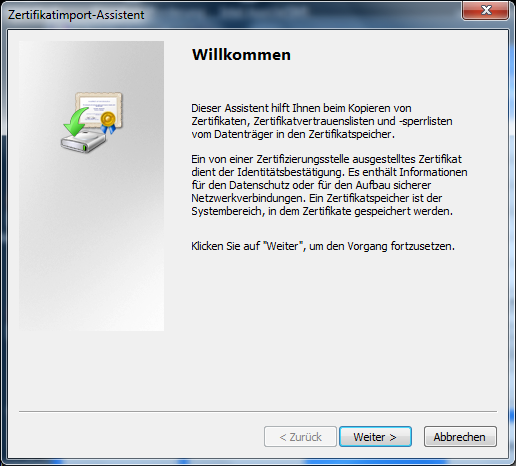
Double-click on the certificate file (file extension e.g. PFX or P12) to start the Windows Certificate Wizard. With Next the installation of the certificate begins!
If you have previously created a self-signed certificate with the software abylon SELFCERT, the Windows installation wizard will start automatically.
2. Select a certificate
The certificate to be installed is displayed again here. Via Select an alternative certificate can be selected.
3. Enter password
If the certificate file is protected with a password, this is entered in the Password field. It also makes sense to activate the two items High security and Exportability. This allows you to protect access to your certificate with a password at the end of the installation and to export the private key of the certificate at any time.
4. Select certificate store
To be on the safe side, the option Save all certificates in the following memory should be activated. The button Browse opens a dialog with all available certificate stores. Here the first item Own certificates has to be selected. After confirming with OK the dialog closes again and in the field Certificate store the certificate database Own certificates is displayed now.
5. Finish the wizard
On the last page all relevant data will be displayed again. Close the installation wizard with Complete.
6. Import the certificate
Before the certificate is finally installed, the security level must be set. Click Security level.
7. Specify security level
Here Windows offers the two security levels Medium (confirmation prompt on access) and High (password query). For maximum security, the High level should be selected, which means that the password must be entered for each signing or decryption action.
8. Set password
This window is used to define the password that must be entered twice in the Password and Confirm fields for security reasons. Under Password for you can also enter a note text, which is also displayed at the password prompt.
The password specified here may and should differ from the password protection of the certificate file. Note that a secure password must contain at least letters, numbers and special characters.
9. Complete import
Now the import process is carried out with the button OK.
10. Import successfully completed
Windows finally shows that the import process of the certificates was successful.
In the software of abylonsoft the newly installed certificate is stored in abylon CERTMANAGER in the database My (Private Certificates). Via Activate this can be defined as Own certificate. Thus the software of abylonsoft automatically uses this certificate for all certificate-based signing and encryption operations.
11. Calling the Control Panel
The newly installed certificate is now also displayed via the Internet options. To do this, the Windows Control Panel must first be opened via Start->Control Panel. If the item Internet options is not displayed, the view must be changed. This is done by selecting the option small symbols under Display after in the upper right corner. The Internet Options are opened by double-clicking.
12. Internet Options, Page Content
In the Internet Options you switch to the tab Contents and open the certificate dialog with the switch Certificates.
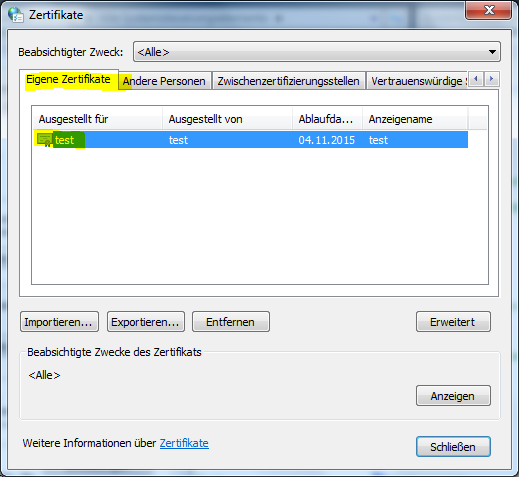
13. Display Own certificates
In the certificate dialog, the individual certificate stores can be accessed via the corresponding tabs. Under Own Certificates the newly installed certificate is now displayed.
Here in the certificate dialog the details of the installed certificate can also be displayed or via Export the own key can be exported.
Themed software for: Installing a certificate in the Windows certificate database